Author:

Jirapongse Phuriphanvichai
Developer Advocate
Developer Advocate
Updated: 11 Feb 2025
Jupyter Notebook is an open-source web application that allows you to create and share documents that contain live code, equations, visualizations, and narrative text. It can be used as a tool for interactively developing and presenting data science projects. Mostly, it is used with Python and R which are scripting languages. However, it can also be used with compiled languages, such as .NET programming languages, Go, and Julia. For a list of supported programming languages, please refer to the Jupyter kernels page in GitHub.
This article explains steps to set up Jupyter Notebook for .NET Core programming languages on Windows 10. It is based on the .NET Notebooks Preview 2 that supports C#, F#, and PowerShell. This article also provides few C# examples that demonstrate how to use DataFrame and Charts.
Microsoft .NET Core
.NET Core is an open-source and cross-platform software framework that can run on various operating systems, such as Windows, Linux, and macOS. It is a project of the .NET Foundation and released under the MIT and Apache 2 licenses.
The first version (.NET Core 1.0) was released on June 27, 2016. At the time of this writing, the current version is .NET 9.0 released on Jan 14, 2025. In .NET 5.0, the "Core" has been dropped from the name to emphasize that this is the main implementation of .NET going forward and it supports more types of applications and more platforms than .NET Core or .NET Framework.
Currently, Microsoft supports the .NET 9.
Next, I will demonstrate steps to set up Jupyter Notebook for .NET 9 on Windows 10.
Steps to setup Jupyter Notebook for .NET
1. Install Python
Python packages are available on the Python website. It supports many operating systems, such as Windows, Linux/Unix, and Mac OS X.
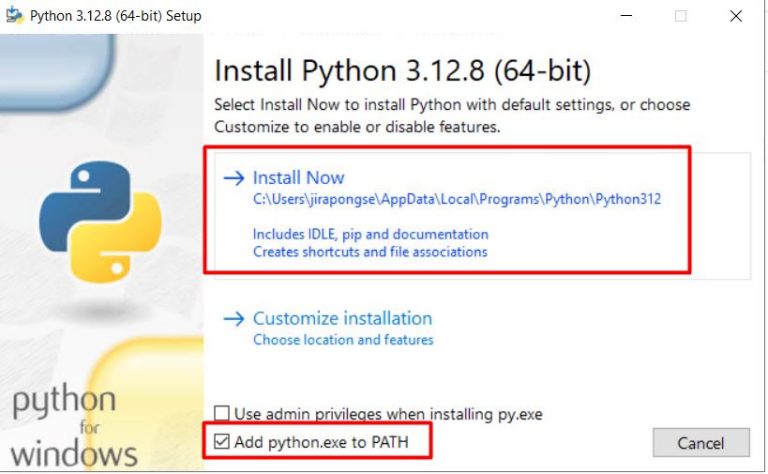
Download the Windows version and then install it on the machine. In this article, Python 3.12.8 64bit is used. You need to verify the installation path or choose the Add python.exe to PATH option to add the Python installation path to the PATH environment variable. However, the Add python.exe to PATH option may introduce the version conflicts among the installed Python versions. If you have multiple versions of Python installed on the machine, please be cautious of this option.
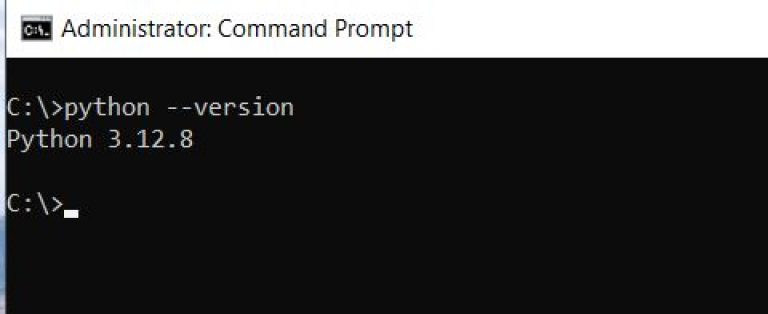
After installing, open the Windows Command Prompt to verify the version of Python (python --version).
You may install different Python Distributions, such as Anaconda. Please refer to the Anaconda website for more information.
2. Install JupyterLab or Jupyter Notebook
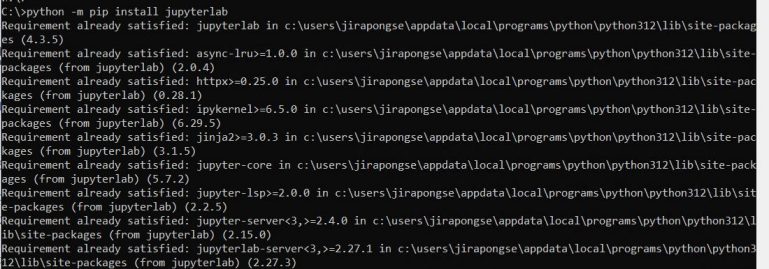
JupyterLab or Jupyter Notebook can be installed with the pip command. Open the Windows Command Prompt and use the following commands to install Jupyter.
JupyterLab
python -m pip install --upgrade pip
python -m pip install jupyterlab
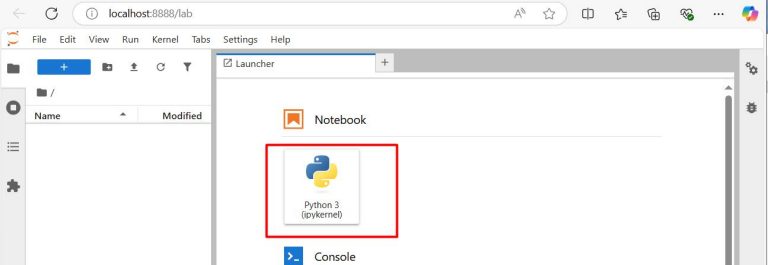
Then, run jupyter lab from the Windows Command Prompt to start the JupyterLab.
At this time, the JupyterLab only supports Python 3.
Jupyter Notebook
python -m pip install --upgrade pip
python -m pip install jupyter
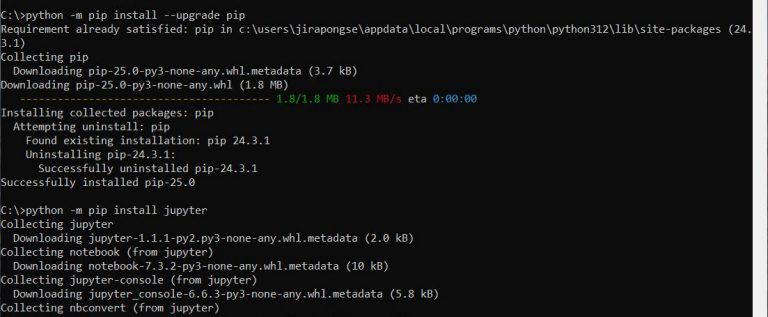
Then, run jupyter notebook from the Windows Command Prompt to start the Jupyter Notebook.
At this time, the Jupyter Notebook only supports Python 3.
For different Python distributions, please refer to the distribution websites regarding how to install Jupyter Notebook.
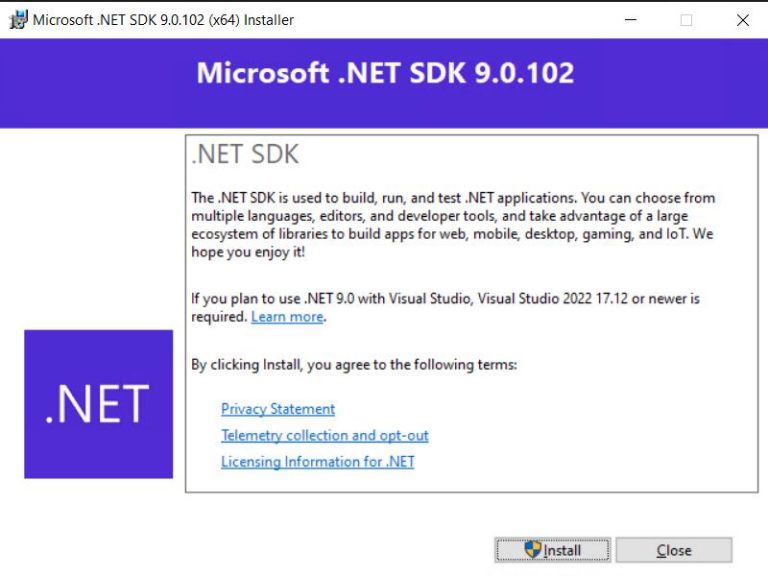
3. Install .NET 9
You can download .NET 9 from the .NET website.
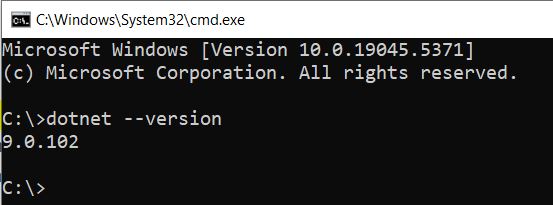
After the installation was successful, run the “dotnet –version” command in the command prompt to verify the version of .NET.
4. Install dotnet-interactive kernel
.NET on the Jupyter Notebook relies on the Microsoft.dotnet-interactive package which is a command-line tool for interactive programming with C#, F#, and PowerShell, including support for Jupyter Notebooks.
Run the following command in the command prompt to install Microsoft.dotnet-interactive.
dotnet tool install --global Microsoft.dotnet-interactive --version 1.0.607001

Then, run the following command to add dotnet-interactive to the JupyterLab or Jupyter Notebook.
dotnet interactive jupyter install
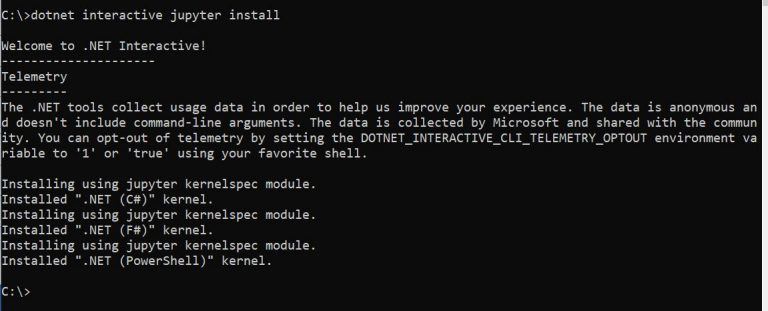
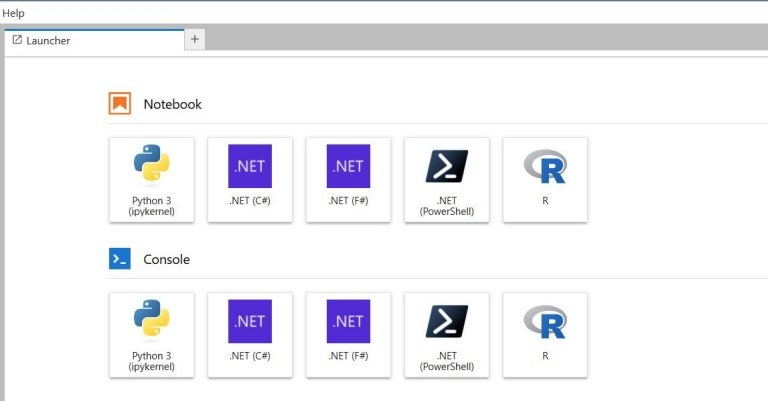
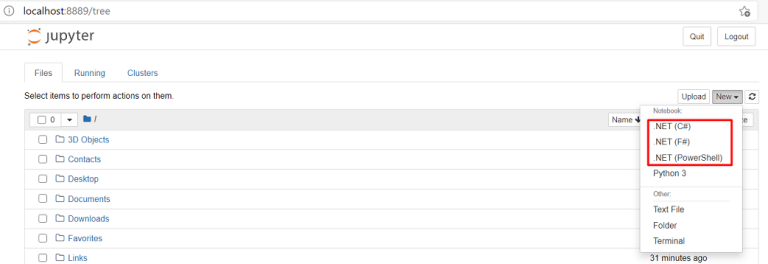
Finally, run the "jupyter lab" or “jupyter notebook” command via the Windows Command Prompt. Now, the Jupyter supports C#, F#, and PowerShell programming languages.
C# Examples
You can refer to the following examples that show how to use C# in JupyterLab or Jupyter Notebook.
- Getting Started with C# DataFrame and XPlot.Plotly: This example demonstrates how to use DataFrame in Microsoft.Data.Analysis package and XPlot.Plotly library to plot charts
References
1. En.wikipedia.org. 2016. .NET Core - Wikipedia. [online] Available at: <https://en.wikipedia.org/wiki/.NET_Core> [Accessed 28 April 2021].
2. Microsoft. n.d. .NET Core and .NET 5 official support policy. [online] Available at: <https://dotnet.microsoft.com/platform/support/policy/dotnet-core> [Accessed 28 April 2021].
3. Docs.microsoft.com. n.d. .NET introduction and overview. [online] Available at: <https://docs.microsoft.com/en-us/dotnet/core/introduction> [Accessed 28 April 2021].
4. Python.org. 2021. Download Python. [online] Available at: <https://www.python.org/downloads/> [Accessed 28 April 2021].
5. Nuget.org. n.d. Microsoft.dotnet-interactive 1.0.221505. [online] Available at: <https://www.nuget.org/packages/Microsoft.dotnet-interactive/> [Accessed 28 April 2021].
6. Naggaga, M., 2020. .NET Interactive is here! | .NET Notebooks Preview 2 | .NET Blog. [online] .NET Blog. Available at: <https://devblogs.microsoft.com/dotnet/net-interactive-is-here-net-notebooks-preview-2/> [Accessed 28 April 2021].
7. Docs.microsoft.com. n.d. What's new in .NET 5. [online] Available at: <https://docs.microsoft.com/en-us/dotnet/core/dotnet-five> [Accessed 28 April 2021].
Get In Touch
Related APIs
Request Free Trial
Call your local sales team
Americas
All countries (toll free): +1 800 427 7570
Brazil: +55 11 47009629
Argentina: +54 11 53546700
Chile: +56 2 24838932
Mexico: +52 55 80005740
Colombia: +57 1 4419404
Europe, Middle East, Africa
Europe: +442045302020
Africa: +27 11 775 3188
Middle East & North Africa: 800035704182
Asia Pacific (Sub-Regional)
Australia & Pacific Islands: +612 8066 2494
China mainland: +86 10 6627 1095
Hong Kong & Macau: +852 3077 5499
India, Bangladesh, Nepal, Maldives & Sri Lanka:
+91 22 6180 7525
Indonesia: +622150960350
Japan: +813 6743 6515
Korea: +822 3478 4303
Malaysia & Brunei: +603 7 724 0502
New Zealand: +64 9913 6203
Philippines: 180 089 094 050 (Globe) or
180 014 410 639 (PLDT)
Singapore and all non-listed ASEAN Countries:
+65 6415 5484
Taiwan: +886 2 7734 4677
Thailand & Laos: +662 844 9576